
A lot has happened this week, including finding out my parents are moving back to Australia. For those who were not aware, I am originally from Sydney and moved here in 2009. My parents are leafing without me this time which is kind of sad. But oh well! It will force me to be independent at least. Well, semi-independent.
I also just have to express that I am ridiculously happy that Djokovic beat Nadal. I find his brattiness strangely endearing. I don't know. I also just think he looks like a sweet dinosaur / lizard.

Anyone know what I mean? I just like him.
You will need...

A sewing machine, tape measure, fabric scissors,zipper, outer and lining fabric (I am using grey wool and black cotton)
What you must do...
What you must do...

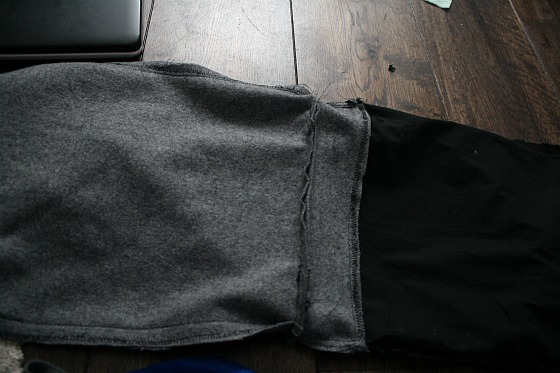
Cut a long strip of each fabric. Folded in half, it should be a little bigger than you want your bag to end up. Your lining fabric should be slightly shorter by 2 inches or so.


Cut a piece of lining fabric about the same width as your zipper and twice as long as the depth you want your pocket to be. About 10" should be about right. Zig-zag the edges. Fold in half and sew up the sides, leaving about 1cm at the top of the pocket.

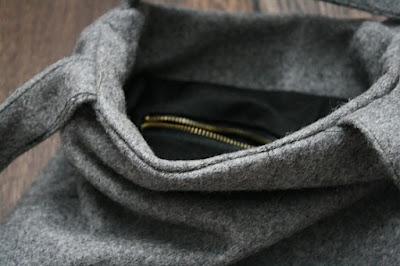
At the open edge of the pocket, sew one side of the zipper to the inside edge of the pocket. Do the same for the other side. After doing one side, it should look like the picture above.

After doing both sides, it should look like this.

Keeping in mind it will eventually be folded in half, cut these slits in your lining fabric where you want your pocket to be. So, just in case you have no idea what this diagram means... do one cut in the middle, about the length of the zip (not including the base), another two tiny cuts across the ends of the first, and even smaller, virtually minute cuts off that. You should now have four little tabs in your lining which you will use to sew the pocket in place.

Wrong side of the fabric facing upwards, take the top tab and sew it to the top side of the front of the zipper. Hoping this makes sense to you but you should be able to work it out in practice.

Do the same to other tabs and you should end up with something which looks like this when your lining is the right way round.

This is to attach to your lining fabric at the top (the reason why it was cut slightly shorter). Using the same fabric you used for the 'outer' part, cut two strips (about 3" or so wide?) and the same length as the width of your main pieces.

Sew the ends together to make a tubey-circley thing.

Right sides together, matching up the seams, sew your tubey circley thing to the top opening of the lining.


You should now have two pieces which are about the same size. If either is longer, give it a little trim. They should be about the same size but the lining should be ever so slightly smaller.


Cut two strips of fabric, twice the width you want your straps / handles to be and however long. UP TO YOU.

These are two ways you can sew your handles. I did mine the first way because the fabric was too heavy to turn inside out. The second way involves folding the strip in half, sewing along the length, turning it inside out and pressing it flat.

Line the two open edges of the outer and lining. They should be turned inside out and the right sides of the fabric should be pressed together. The ends of your straps should be between both, where you want them to end up. Use your tape measure to make sure they are in the right place! Sew through all the layers of fabric, leaving a small hole.

 Turn it inside out and it should look something like this!


Get yourself a needle and thread, preferably in the same colour as your outer fabric if you haven't already been using some.
 Starting from the inside, sew little stitches along either side of opening, pulling the thread as you go so the hole closes but the stitches are hidden. Iron the whole thing and you're finished.

You could also do this without lining, with the zipper on the outside, with normal pockets, whatever. This is just because I personally wanted a bag like this.
 Here is one I made without lining. Yoop.
---------------------
Also, here are a couple of recent outfits:


And and and also thankyou PerhapsDaily for making her dress using my tutorial. So exciting to see!

Bye!


You could also do this without lining, with the zipper on the outside, with normal pockets, whatever. This is just because I personally wanted a bag like this.

---------------------
Also, here are a couple of recent outfits:
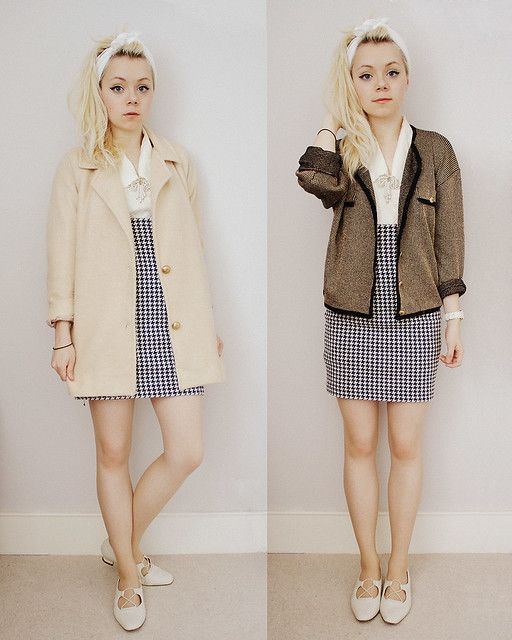
Scarf: made it (it's just fabric)
Brooch: Primark
Watch: Asos
Everything else: vintage
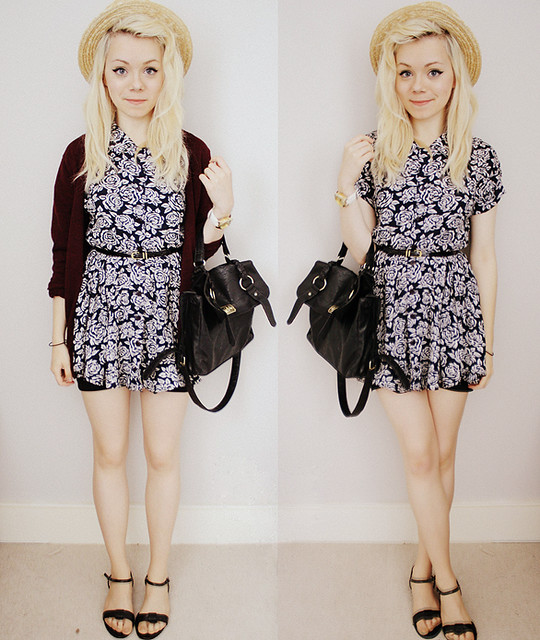
Cardigan: Uniqlo
Skirt: sister's
Dress: vintage
Watch: Asos
Bag: Primark
Sandals: not sure, ridiculously old
And and and also thankyou PerhapsDaily for making her dress using my tutorial. So exciting to see!

Bye!
Love the tote bag, and super cute outfits too. Sydney is so warm right now...it hardly seems like winter. x
ReplyDeleteWow thats reaaly cool will attempt it soon, are you studying some sort f fashion course? If so where? http://prettybabyplease.blogspot.com/
ReplyDeleteTotally in love with your outfits !
ReplyDeletexo
cheapthrillls.blogspot.com
You're so gorgeous and creative! Your tutorials inspire me to make my own clothes once I gather up the time.
ReplyDeletehttp://wehavelittlefaith.blogspot.com
Just Discovered you !
ReplyDeleteVery nice Blog !
Anais from http://thetimeisgrey.blogspot.com/
Great tutorial! And I originally didn't know who those guys in the first photo were, but I can totally see the lizard, nice dinosaur look thing. hahaha. and your tutorial is fabulous! my mom has some great fabric so a summer goal of mine is to make a dress or something with your tutorial! i'm not so great with keeping my goals, but i can hope!! and i love your hat. :)
ReplyDeleteand best of luck being on your own! one day i will and must visit you, or lemme know if you're ever in new york city! :)
Really nice outfits!
ReplyDeleteI might sound like a crazy stalking reader, ahah, but some of your looks really inspires me. They are always rally cute :) congrats for that!
xoxo
u are really cute!
ReplyDeletelove http://www.wonderingwolves.blogspot.com/